
Brighton continues to be one of Saskatoon’s most desirable neighbourhoods—vibrant, modern, and filled with amenities that make everyday living easier. And right now, homebuyers looking to live or invest in Brighton have a unique advantage: the ability to benefit from Saskatchewan’s Secondary Suite Incentive (SSI) Grant before it ends on March 31, 2026.
At North Ridge Development, many of our Brighton homes are designed to support legal suite development—making it easier for buyers to qualify for the grant while gaining long-term financial flexibility.
What Is the SSI Grant?
The Secondary Suite Incentive (SSI) Grant is a provincial program offering financial support to homeowners who build a new, legal secondary suite. It helps offset the cost of construction and encourages housing solutions that benefit families, investors, and the broader community.
Key advantages include:
- Coverage of up to 35% of eligible construction costs
- Support for creating legal, code-compliant suites
- Long-term rental income potential to help offset mortgage payments
- For many Brighton buyers, this can significantly improve affordability while adding long-term value to their investment.
Important Deadline: March 31, 2026
To qualify for the SSI Grant, all eligible suite construction costs must be incurred before March 31, 2026.
This means buyers need to:
- Select a home early enough to allow suite construction to begin before the deadline
- Choose models that already include features supporting future suite development
- Consider homes already under construction, which offer the best chance to meet the eligibility timeline
- With the deadline approaching, now is the ideal time to secure a Brighton home that aligns with the grant requirements.
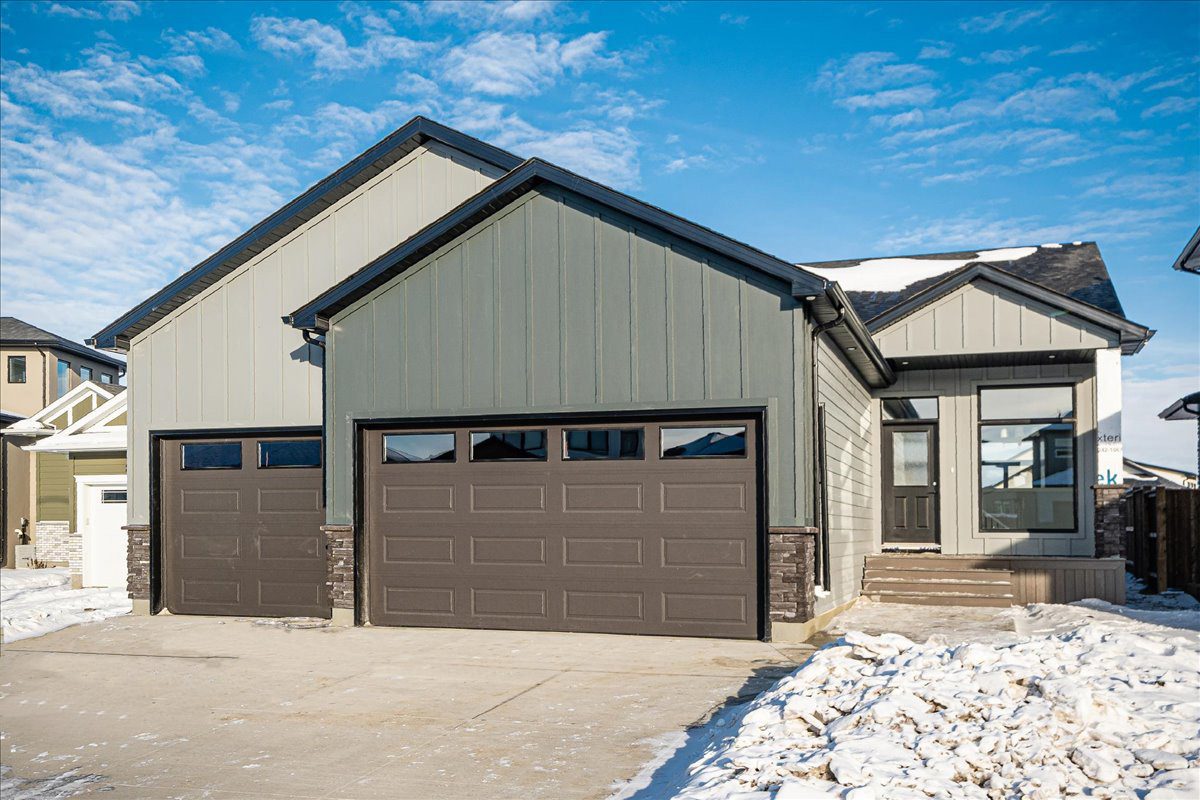
North Ridge Homes in Brighton Designed for Suite Potential
In Brighton, we offer thoughtfully planned two-storey home models that include:
- Separate basement entries
- Smart layouts that support legal basement suite development
- Homes currently under construction, giving buyers the opportunity to begin eligible work sooner
- Popular Brighton home models that work well for suite development include:
Logan, Oliver, and Elias—each crafted with flexibility, value, and long-term function in mind. - When you purchase one of these homes in Brighton, you’re positioned to take advantage of the SSI Grant while also enjoying a modern, dynamic neighbourhood.
Why a Secondary Suite Makes Sense in Brighton
Brighton is a growing, in-demand community—perfect for families, renters, and professionals. A legal secondary suite here offers exceptional benefits:
✔ Additional Income – Earn rental income to help reduce your monthly mortgage.
✔ Flexible Living – Use the suite for extended family, aging parents, or guests.
✔ Higher Long-Term Value – Homes with legal suites often appeal to a wider market and offer stronger resale potential.
✔ Strong Demand in a Popular Community – Brighton’s amenities, parks, shopping, and overall appeal make rental units highly desirable.
Is the SSI Grant Right for You?
This grant is ideal for:
- Buyers wanting to offset their mortgage with rental income
- Investors looking to enter the Brighton rental market
- Families planning for multi-generational living
- Homeowners focused on long-term value and flexibility
- If Brighton is where you want to build or buy, now is the perfect time to explore your options.
Explore Brighton Homes Eligible for the SSI Grant
We currently have Brighton inventory homes under construction that include the essential features needed for suite development. These homes offer the best chance to incur eligible expenses before the program deadline.
Availability is limited, and as the deadline approaches, demand is expected to rise.
Start the Process Today
Ready to explore a Brighton home that qualifies for the SSI Grant?
📞 Contact our sales team
📧 Book a viewing
🏡 Tour our Brighton floor plans designed for secondary suites
With North Ridge, you’re not just buying a home—you’re investing in a smarter, more flexible future.


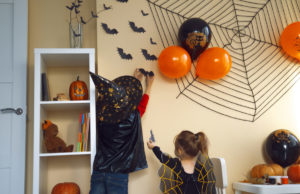 Spider webs are a staple of the Halloween season. They are easy to make and all you need is yarn and tape. Choose the perfect spot, whether indoors or outdoors and consider a location that will allow the web to stand out. To make the spider web, start by making an X, a few crisscross lines and a vertical line from the top to the bottom of your web. Cut a long strand of yarn for each section, fold equally and start your first ring with a simple loop knot. Take the yarn around to each arm and loop it around. When you get back around to the beginning of the ring, tie the end with a knot, cut off the excess and start over on the next ring. Continue the process to create as many rings as you like. Add spiders to the giant yarn spider web and you are all set!
 When you think of Halloween decorations, Jack-o-lantern is for sure one of the first things that will come to mind. This is a great family activity and you can get as creative as you like!
 DIY yard ghost Halloween decoration is a great alternative to store-bought decorations. It is easy to make, and you can use it year after year. If you have large trees on your property, stuff the leaves you have raked into large white garbage bags, draw black eyes on them and scatter them throughout the yard. Alternatively, you can also create yard ghosts by using a white balloon, white thread, white cloth or fabric, black marker, scissors and glue. Blow out the balloons that will serve as the head. Then, tie a knot to your balloon with the thread and drape the white fabric on top covering it entirely. Make a small incision on the cloth so that the securing knot is visible. Now, you can use the black marker to paint some dark circles on the ghost’s face. The final step is to use the thin white thread to tie the ghost decoration to the ceiling or to an elevated surface so that you can get the full-on floating effect.